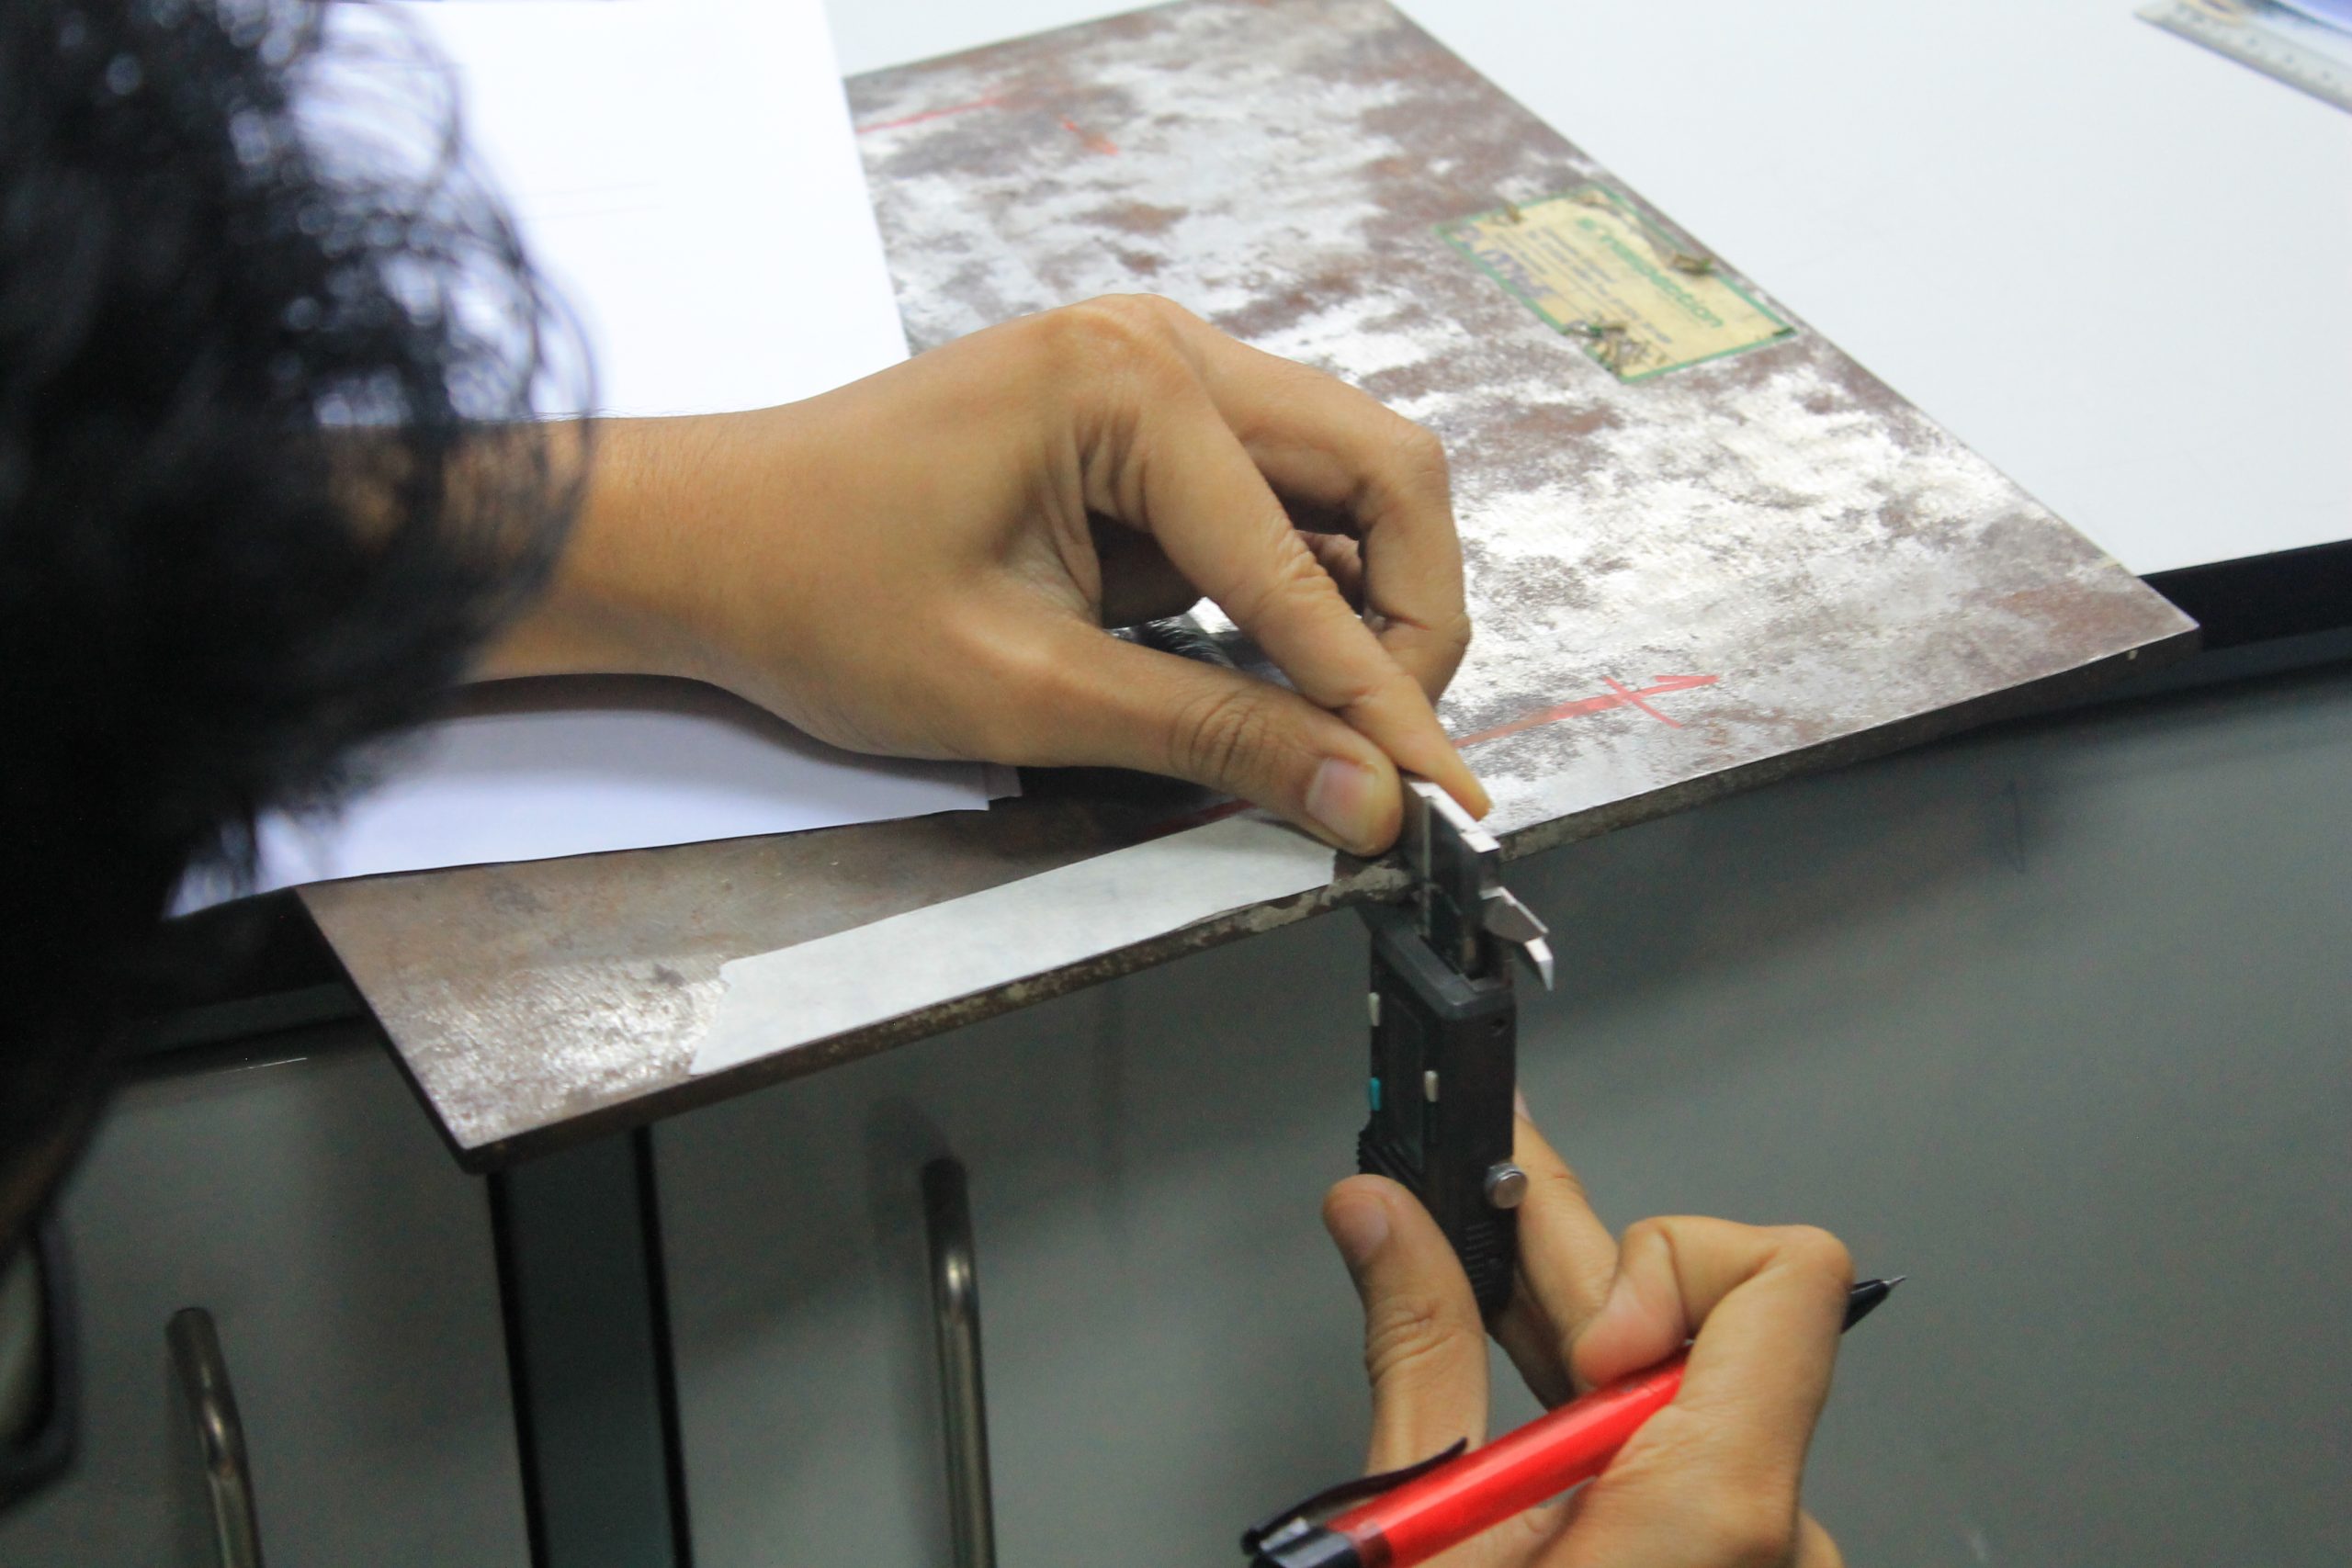
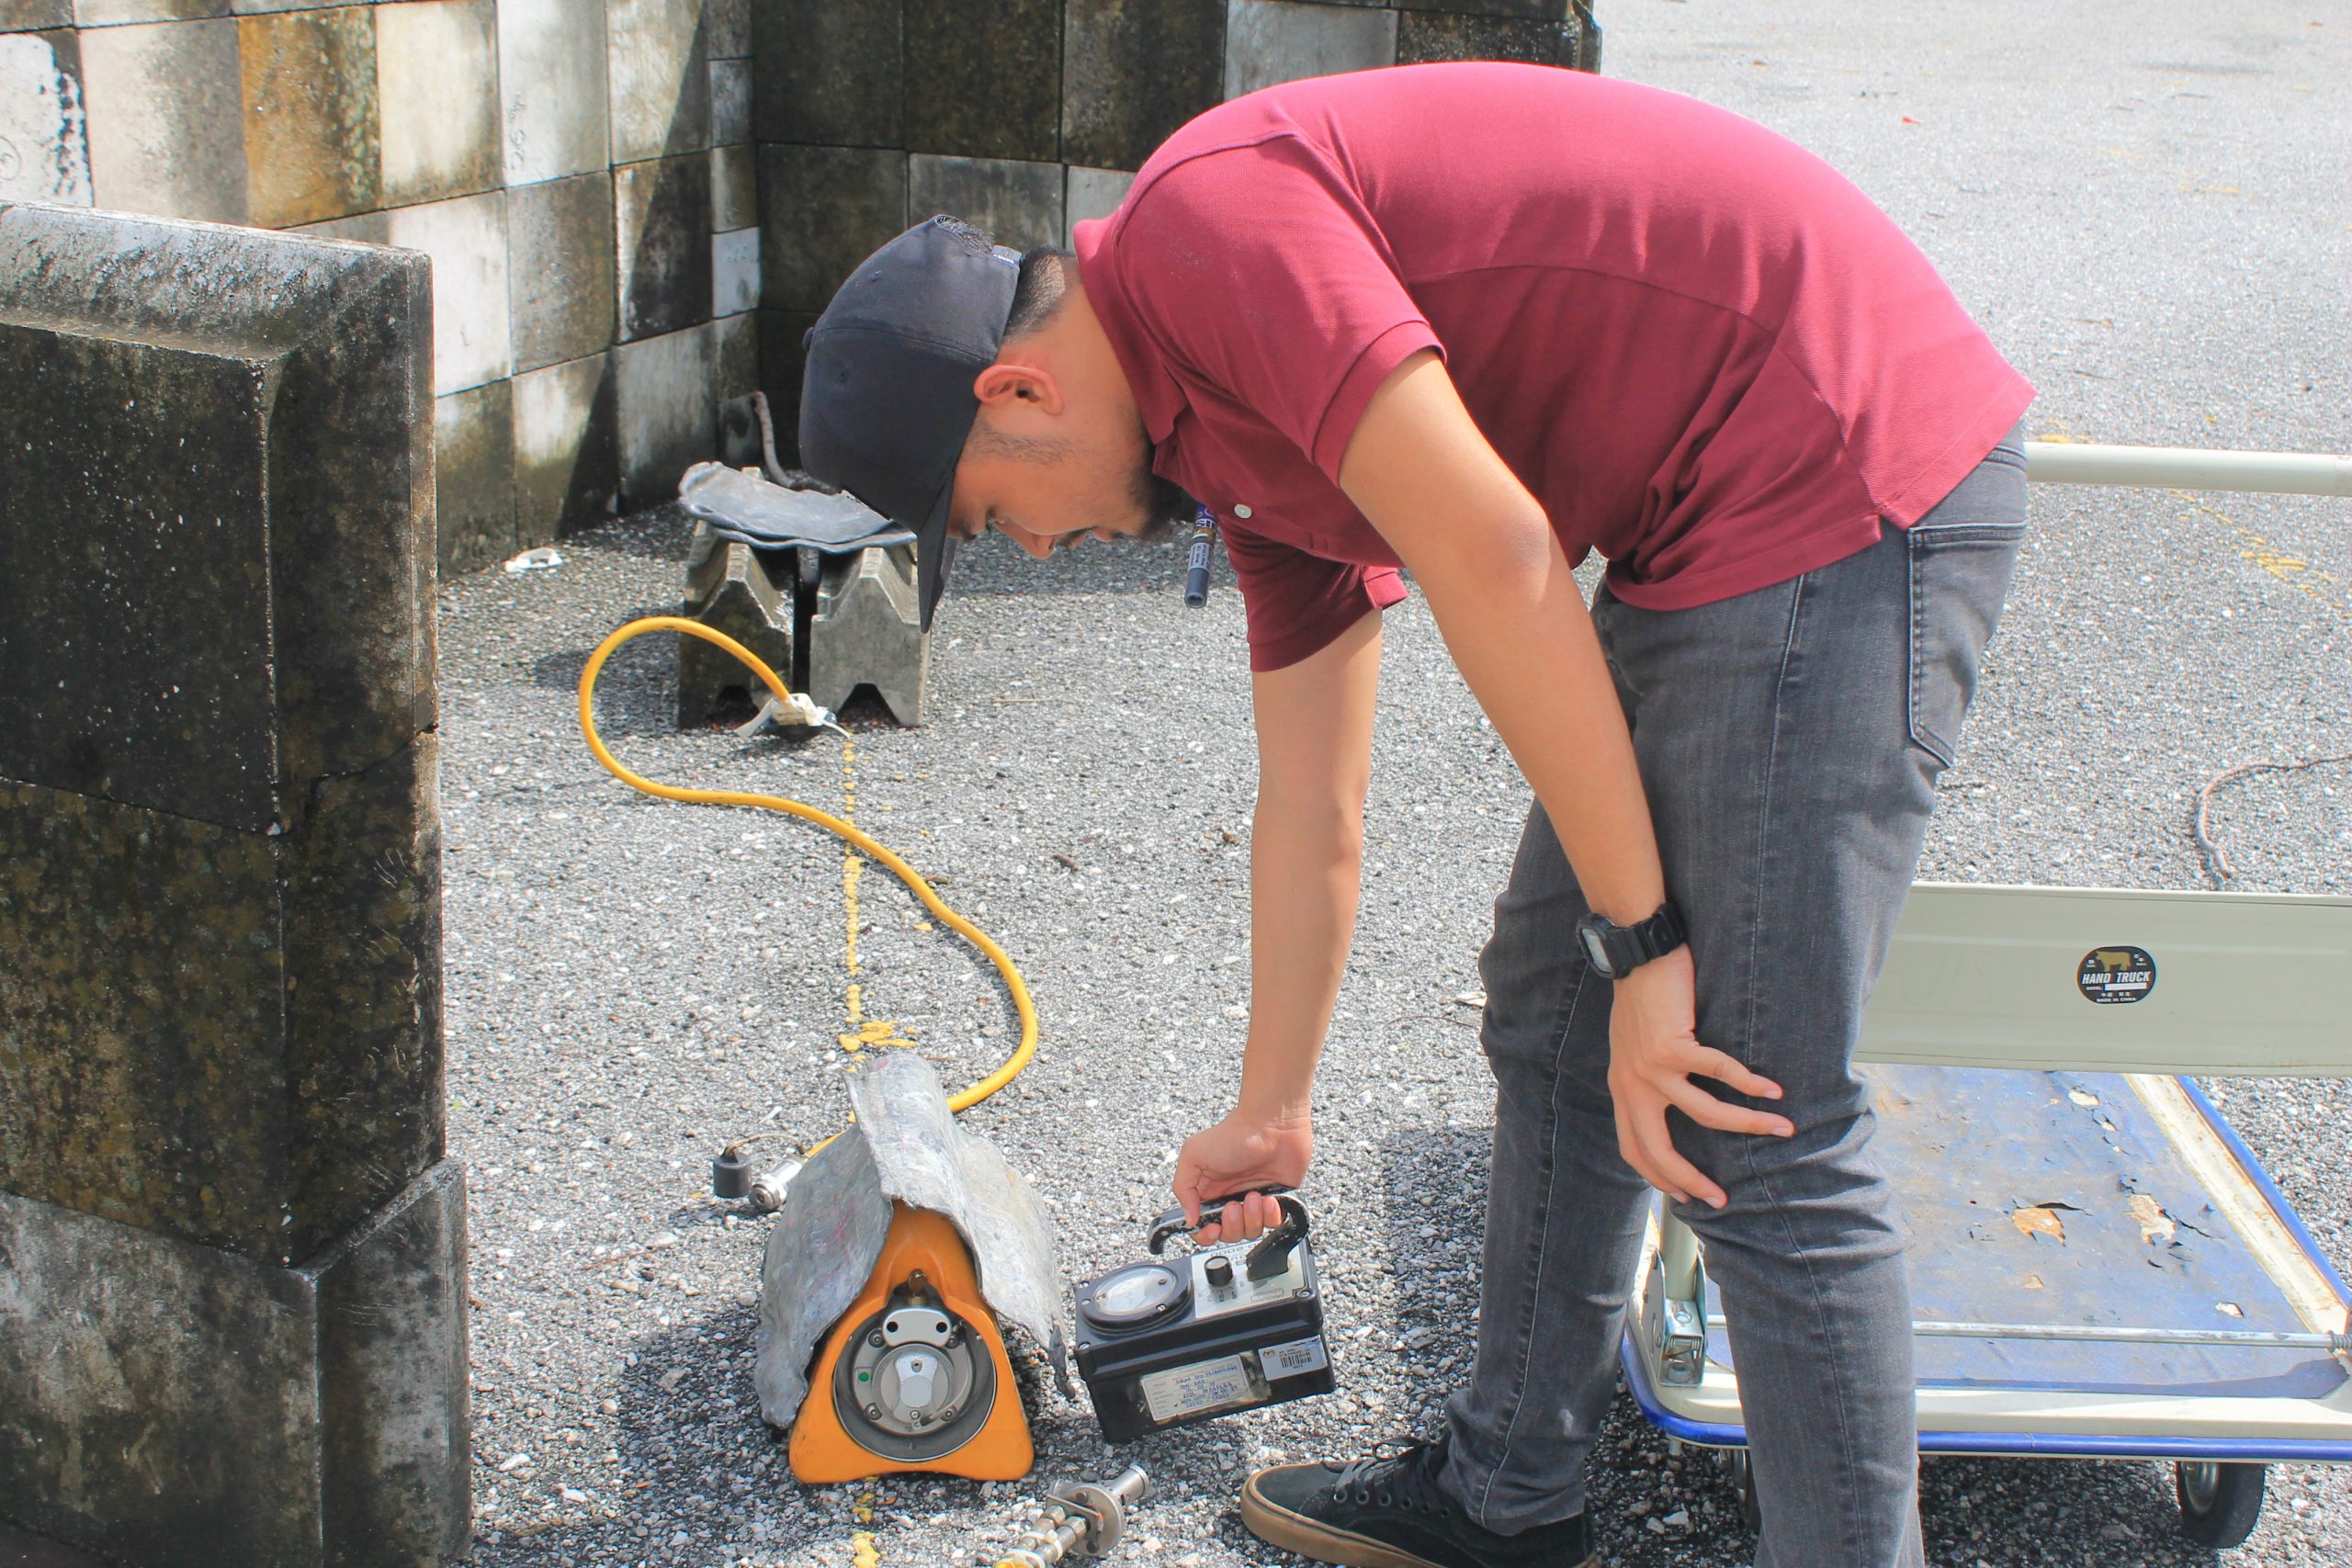
In radiographic testing (RT), one of the most fundamental yet often underemphasized steps is accurately measuring the thickness of the test specimen. As shown in the image above, technicians typically use tools like digital calipers to determine this parameter before any exposure setup. But why is this step so crucial?
Let’s revisit its real-world impact on exposure time and radiographic quality — a useful refresh for both new and experienced NDT professionals.
🔍 Why Thickness Measurement Matters
In radiography, the amount of radiation energy required to penetrate a material is directly affected by its thickness and density. The thicker the material, the more X-ray or gamma radiation it takes to achieve sufficient contrast on the radiographic film or digital detector.
Neglecting accurate thickness measurement can result in:
-
Overexposed films (too much radiation, loss of detail)
-
Underexposed films (insufficient penetration, unclear indications)
-
Wasted film/detector cycles and repeat exposures
-
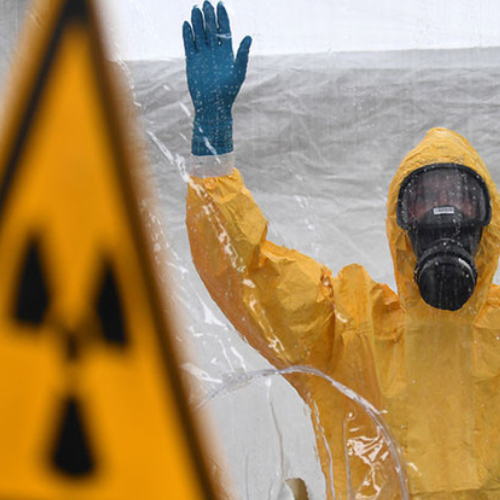
Increased radiation dose to personnel and surrounding areas
⏱️ How Thickness Affects Exposure Time
In practical terms, the relationship between thickness and exposure time is non-linear. That means doubling the thickness doesn’t just double the time — it often requires significantly more exposure due to exponential attenuation of the beam.
Example:
If a 10 mm steel plate requires 2 minutes of exposure using Ir-192, a 20 mm plate may need 6 to 8 minutes, depending on:
-
Source activity
-
Source-to-film distance (SFD)
-
Film sensitivity
-
IQI (Image Quality Indicator) requirements
📐 The Role of Accurate Measurement in RT Planning
Before exposure, the technician should:
-
Measure multiple points on the specimen, especially if it has variable geometry.
-
Note the thickest section — this determines the required energy and exposure time.
-
Consider material type and density – e.g., stainless steel vs. carbon steel.
-
Use standard exposure charts or software to calculate optimal time.
A wrong input in thickness means:
-
Faulty exposure curves
-
Poor sensitivity
-
Missed discontinuities
✅ Best Practices for NDT Technicians
-
Use calibrated instruments (digital or vernier calipers) for thickness.
-
Avoid assumptions — even if it “looks standard”, measure it.
-
Document your measurements – they’re part of traceability.
-
Factor in any backing or weld reinforcement if present.
🧠 Quick Recap for RT Professionals
| Thickness ↑ | Exposure Time ↑ | Contrast ↓ | Risk of Reshoot ↑ |
|---|---|---|---|
| Thin Specimen | Short time | High contrast | Low |
| Thick Specimen | Longer time | Lower contrast | Higher if miscalculated |
🛠️ Final Thought
In RT, precision starts with measurement. The simple act of using a caliper to measure thickness can be the difference between a successful inspection and a failed exposure. Whether you’re inspecting welds on pipelines or castings in aerospace, thickness dictates technique.
Next time you’re in the field, treat the measurement step with the importance it deserves — your film (and your client) will thank you for it.
Would you like this turned into a downloadable PDF or used as a blog post on your website?


